January 14, 2024
Today, we'll explore a fantastic project that will add warmth and character to your home - installing a thin brick interior fireplace. Thin brick veneers are a cost-effective and stylish way to achieve the timeless charm of exposed brick. Let's dive into the steps of creating a stunning focal point for your living space.
Step 1: Planning and Design
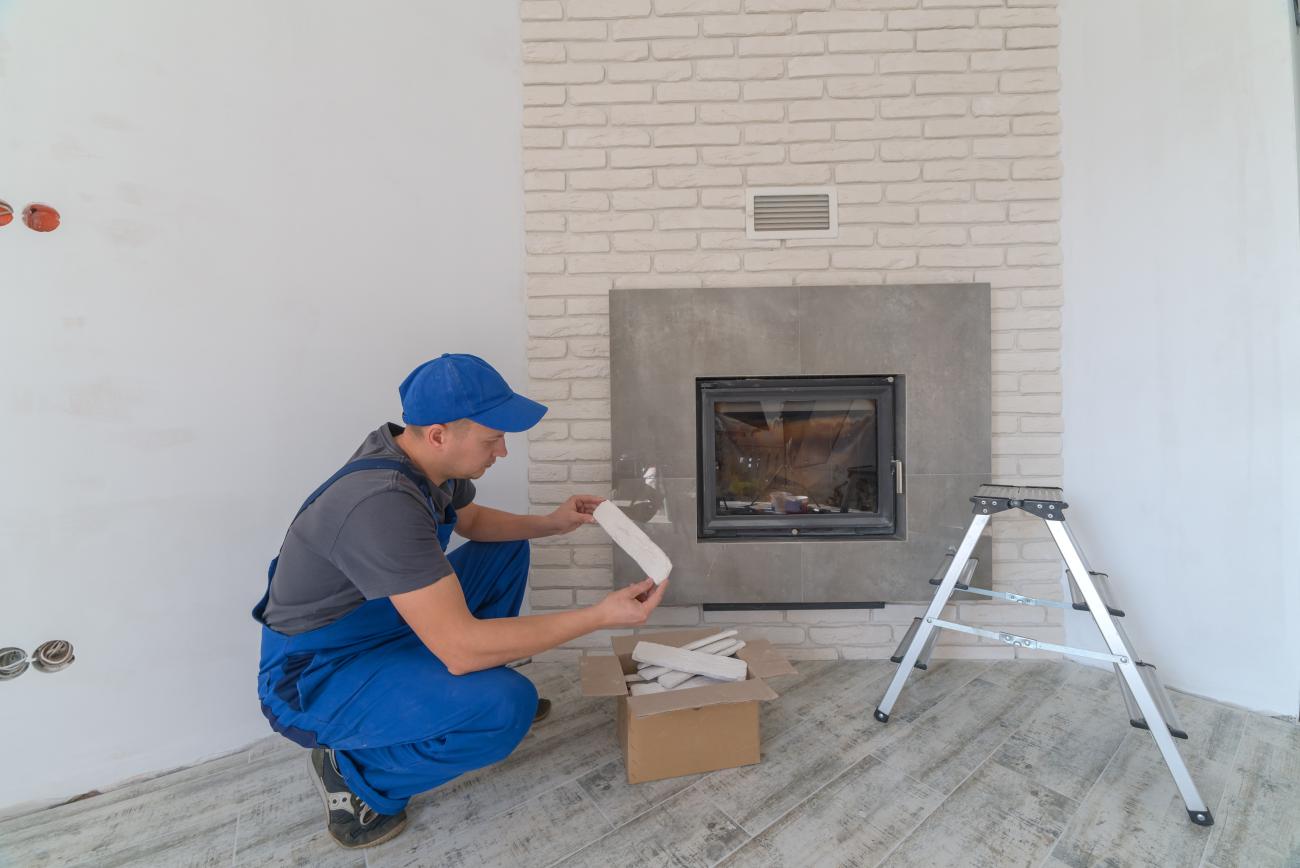
Before you begin, carefully plan your project. Consider the dimensions of your fireplace and choose the type and color of thin brick that complements your interior design. Thin brick comes in various styles, from classic red to trendy whitewashed or reclaimed looks. Sketch out your design and make sure you have all the necessary materials, including thin brick veneers, adhesive, mortar, spacers, and a trowel.
Step 2: Preparation
Start by preparing the surface of your fireplace. Clean the existing surface thoroughly, removing any dust, dirt, or loose material. If your fireplace has a painted surface, consider sanding it to create a better bonding surface for the adhesive.
Step 3: Applying Adhesive
Using a high-quality adhesive suitable for thin brick installation, apply a generous amount to the back of each thin brick veneer. Ensure even coverage and use a trowel to create grooves for better adhesion. Work in small sections to prevent the adhesive from drying before you can apply the bricks.
Step 4: Installing Thin Brick
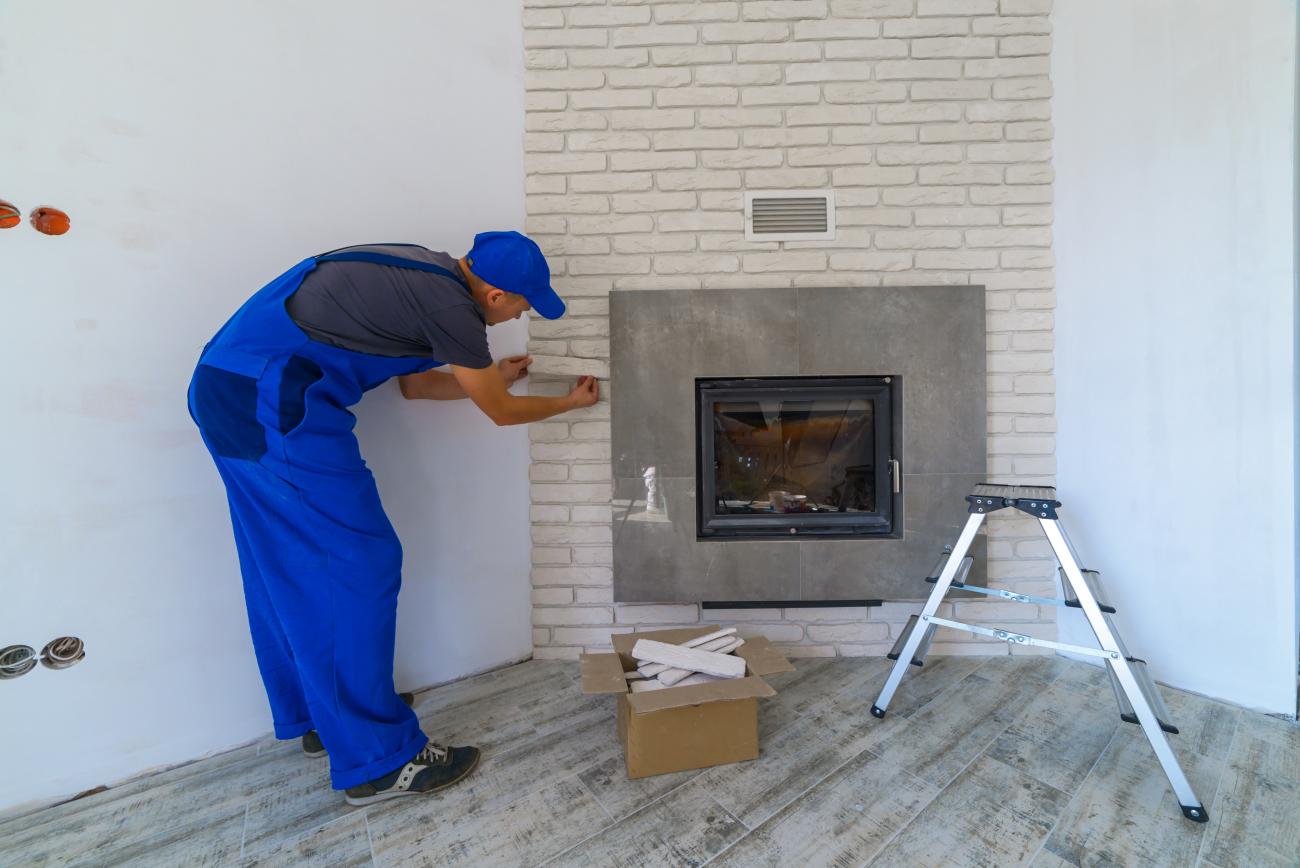
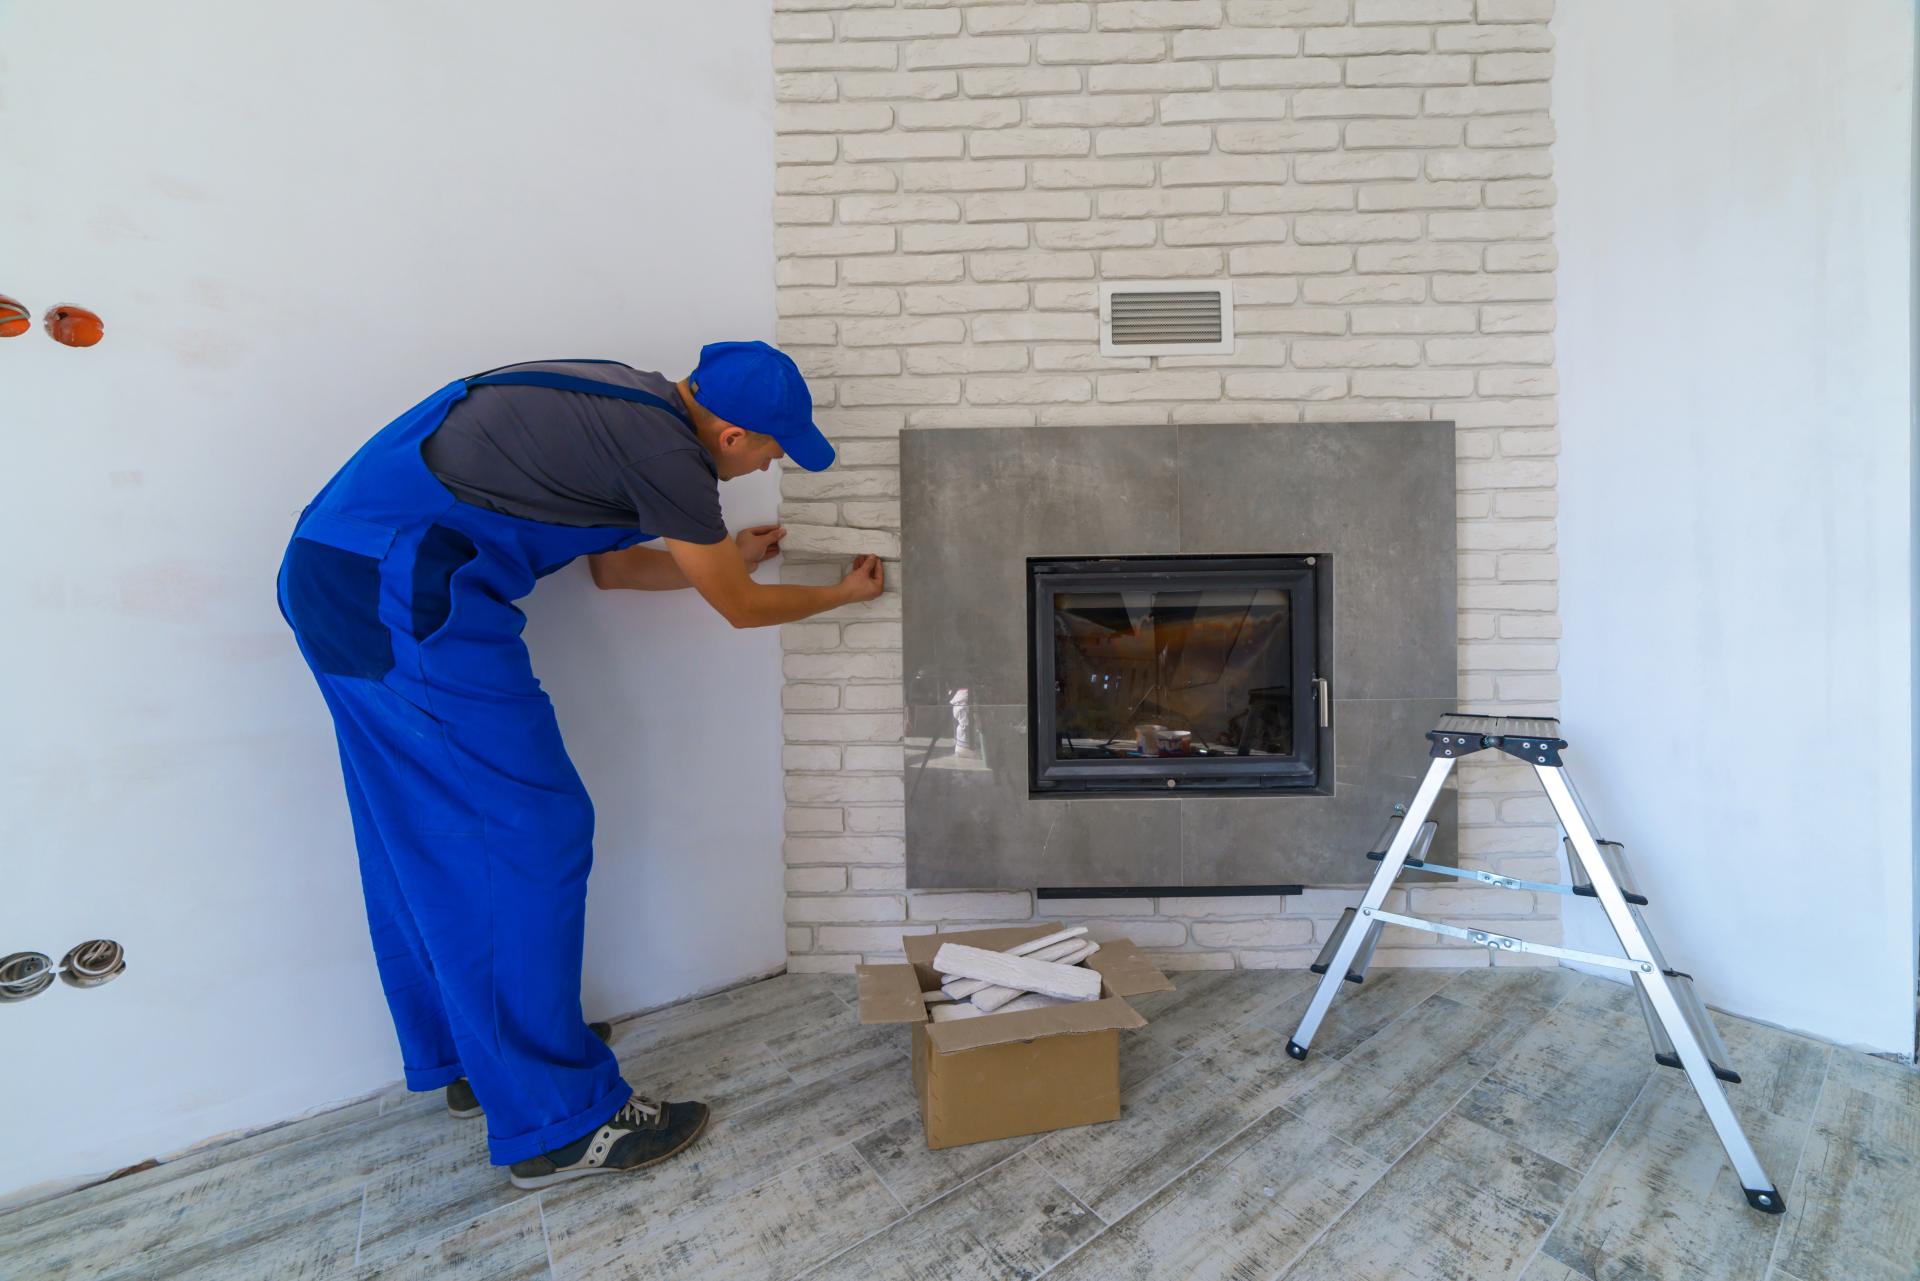
Carefully place each thin brick onto the adhesive, using spacers to maintain consistent gaps between bricks. Press each brick firmly to ensure a secure bond. Continue this process until the entire fireplace is covered. Remember to check for levelness and adjust the placement of bricks as needed.
Step 5: Mortar Joints
Once the adhesive has set, mix mortar according to the manufacturer's instructions. Apply the mortar between the thin bricks using a grout bag or trowel. Smooth the joints for a clean and finished look. Wipe away any excess mortar with a damp sponge before it dries.
Step 6: Finishing Touches
Allow the mortar to cure for the recommended time. Once the installation is complete, step back and admire your transformed space.
Congratulations on successfully creating a DIY interior brick fireplace using thin brick veneers! This project not only adds a touch of rustic charm to your space but also serves as a testament to your creativity and craftsmanship. Enjoy the cozy ambiance and the sense of accomplishment that comes with a beautifully crafted fireplace.
Visit a Brickworks Supply Center today to receive expert advice and recommendations for your next project. Find a Location


Find Your Store
IA | Des Moines
-
4601 NW Urbandale Drive, Suite 112
Urbandale, Iowa 50322
- Phone: 515-219-7842
- Hours: 07:30 am - 04:00 pm
IL | Bridgeview
-
7542 West 73rd Street
Bridgeview, Illinois 60455
- Phone: 708-607-9430
- Hours: 07:00 am - 03:00 pm
IL | Champaign
-
3200 W. Springfield
Champaign, Illinois 61822
- Phone: 217-439-4348
- Hours: 07:00 am - 03:30 pm
IL | Chicago
-
850 W. Pershing Road
Chicago, Illinois 60609
- Phone: 773-923-3771
- Hours: 07:00 am - 03:00 pm
IL | Des Plaines
-
821 Seegers Road
Des Plaines, Illinois 60016
- Phone: 847-860-6806
- Hours: 07:00 am - 03:00 pm
IL | Naperville
-
1760 North Aurora Road
Naperville, Illinois 60563
- Phone: 630-864-5711
- Hours: 07:00 am - 03:00 pm
IL | New Lenox
-
1300 West Maple Street
New Lenox, Illinois 60451
- Phone: 815-680-2971
- Hours: 07:00 am - 03:00 pm
IL | Schaumburg
-
409 West Wise Road
Schaumburg, Illinois 60193
- Phone: 847-860-6242
- Hours: 07:00 am - 03:00 pm
IL | Springfield
-
800 South 9th Street
Springfield, Illinois 62703
- Phone: 217-492-8544
- Hours: 07:30 am - 03:00 pm
IN | Carmel
-
430 West Carmel Drive
Carmel, Indiana 46032
- Phone: 317-597-8767
- Hours: 07:30 am - 04:00 pm
IN | Chesterton
-
1631 Pioneer Trail
Chesterton, Indiana 46304
- Phone: 219-250-9859
- Hours: 07:30 am - 04:00 pm
IN | Evansville
-
3401 Mt Vernon Ave
Evansville, Indiana 47712
- Phone: 812-993-4472
- Hours: 08:00 am - 04:00 pm
IN | Fort Wayne
-
3000 N Wells St
Fort Wayne, Indiana 46808
- Phone: 260-264-7468
- Hours: 07:30 am - 04:00 pm
IN | Indianapolis Edgewood North
-
5007 W 96th St
Indianapolis, Indiana 46268
- Phone: 317-751-2334
- Hours: 08:00 am - 04:30 pm
IN | Indianapolis Epler Ave
-
1580 E Epler Ave
Indianapolis, Indiana 46227
- Phone: 317-779-1670
- Hours: 07:30 am - 04:00 pm
IN | Indianapolis Shelby St
-
5518 Shelby Street
Indianapolis, Indiana 46227
- Phone: 317-779-3090
- Hours: 08:00 am - 04:30 pm
IN | Lafayette
-
1799 North 9th Street
Lafayette, Indiana 47904
- Phone: 765-476-0452
- Hours: 07:30 am - 04:00 pm
IN | South Bend
-
918 Oliver Plow Ct
South Bend, Indiana 46601
- Phone: 574-777-0167
- Hours: 07:30 am - 04:00 pm
MD | Baltimore
-
4150 Hayward Avenue
Baltimore, Maryland 21215
- Phone: (410) 220-2363
- Hours: 07:00 am - 04:00 pm
MD | Upper Marlboro (DC)
-
8315 Old Marlboro Pike
Upper Marlboro, Maryland 20772
- Phone: (301) 701-5160
- Hours: 07:30 am - 04:00 pm
MI | Waterford
-
6315 Highland Road
Waterford, Michigan 48327
- Phone: 248-392-3980
- Hours: 07:00 am - 03:30 pm
MI | Whitmore Lake
-
6556 Whitmore Lake Rd
Whitmore Lake, Michigan 48189
- Phone: 734-212-8454
- Hours: 08:00 am - 04:00 pm
MN | Bloomington
-
520 West 86th Street
Bloomington, Minnesota 55420
- Phone: 952-206-5490
- Hours: 07:30 am - 04:00 pm
NE | Omaha
-
13801 Industrial Road
Omaha, Nebraska 68137
- Phone: 402-235-5567
- Hours: 07:30 am - 04:00 pm
PA | Reading
-
200 Hartman Road
Muhlenberg, Pennsylvania 19605
- Phone: 610-686-7711
- Hours: 07:00 am - 03:30 pm
VA | Manassas
-
7413 Cushing Road, Suite 100
Manassas, Virginia 20109
- Phone: 703-263-8057
- Hours: 07:00 am - 03:30 pm

