August 1, 2023
A clay brick paver patio adds charm, functionality, and value to your outdoor living space. Whether you want a cozy spot to entertain guests or a serene retreat to relax, building a DIY clay brick paver patio can be a rewarding project. In this step-by-step guide, we will walk you through the process of creating a beautiful and durable clay brick paver patio, complete with examples to inspire your creativity. Let's get started!
Materials Needed:
- Bricks: Choose high-quality clay brick pavers in the color and style of your preference.
- Coarse sand: For the base and leveling.
- Gravel: Provides stability and aids in drainage.
- Landscape fabric: Helps prevent weed growth between the pavers.
- Edging material: Options include plastic, metal, or concrete edging to keep the pavers in place.
- Tamper: To compact the base and sand layers.
- Level: To ensure a flat and even surface.
- Rubber mallet: For tapping and adjusting the bricks.
- Shovel and wheelbarrow: For moving materials.
- Broom: To sweep sand between the paver joints.
- Safety equipment: Gloves, safety glasses, and a dust mask.
Step 1: Planning and Preparation
- Measure the area: Determine the size and shape of your patio. Mark the boundaries with stakes and string.
- Check for utility lines: Before digging, call your local utility company to ensure you won't hit any underground lines.
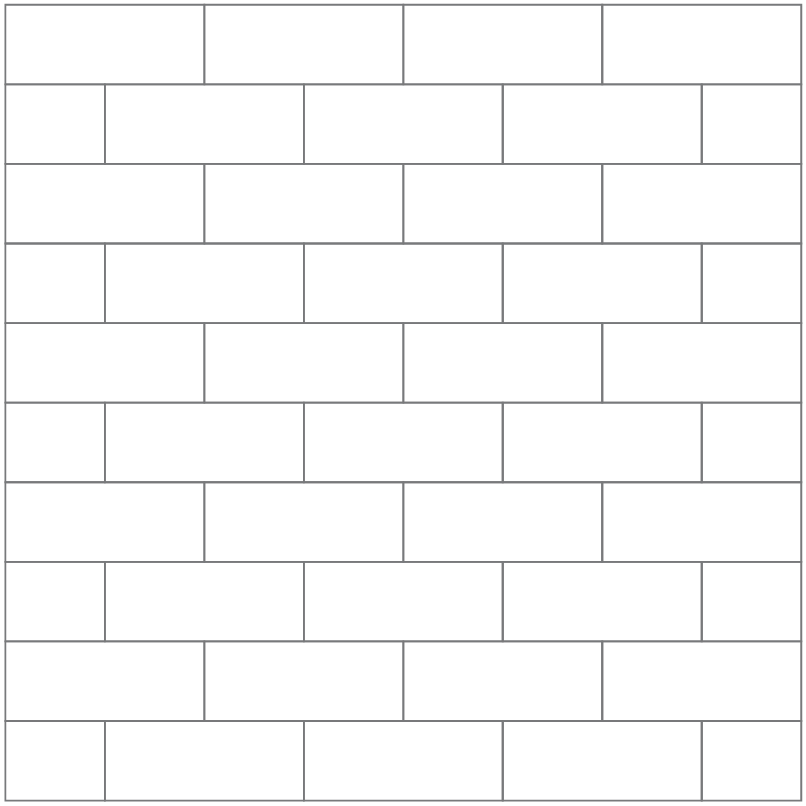
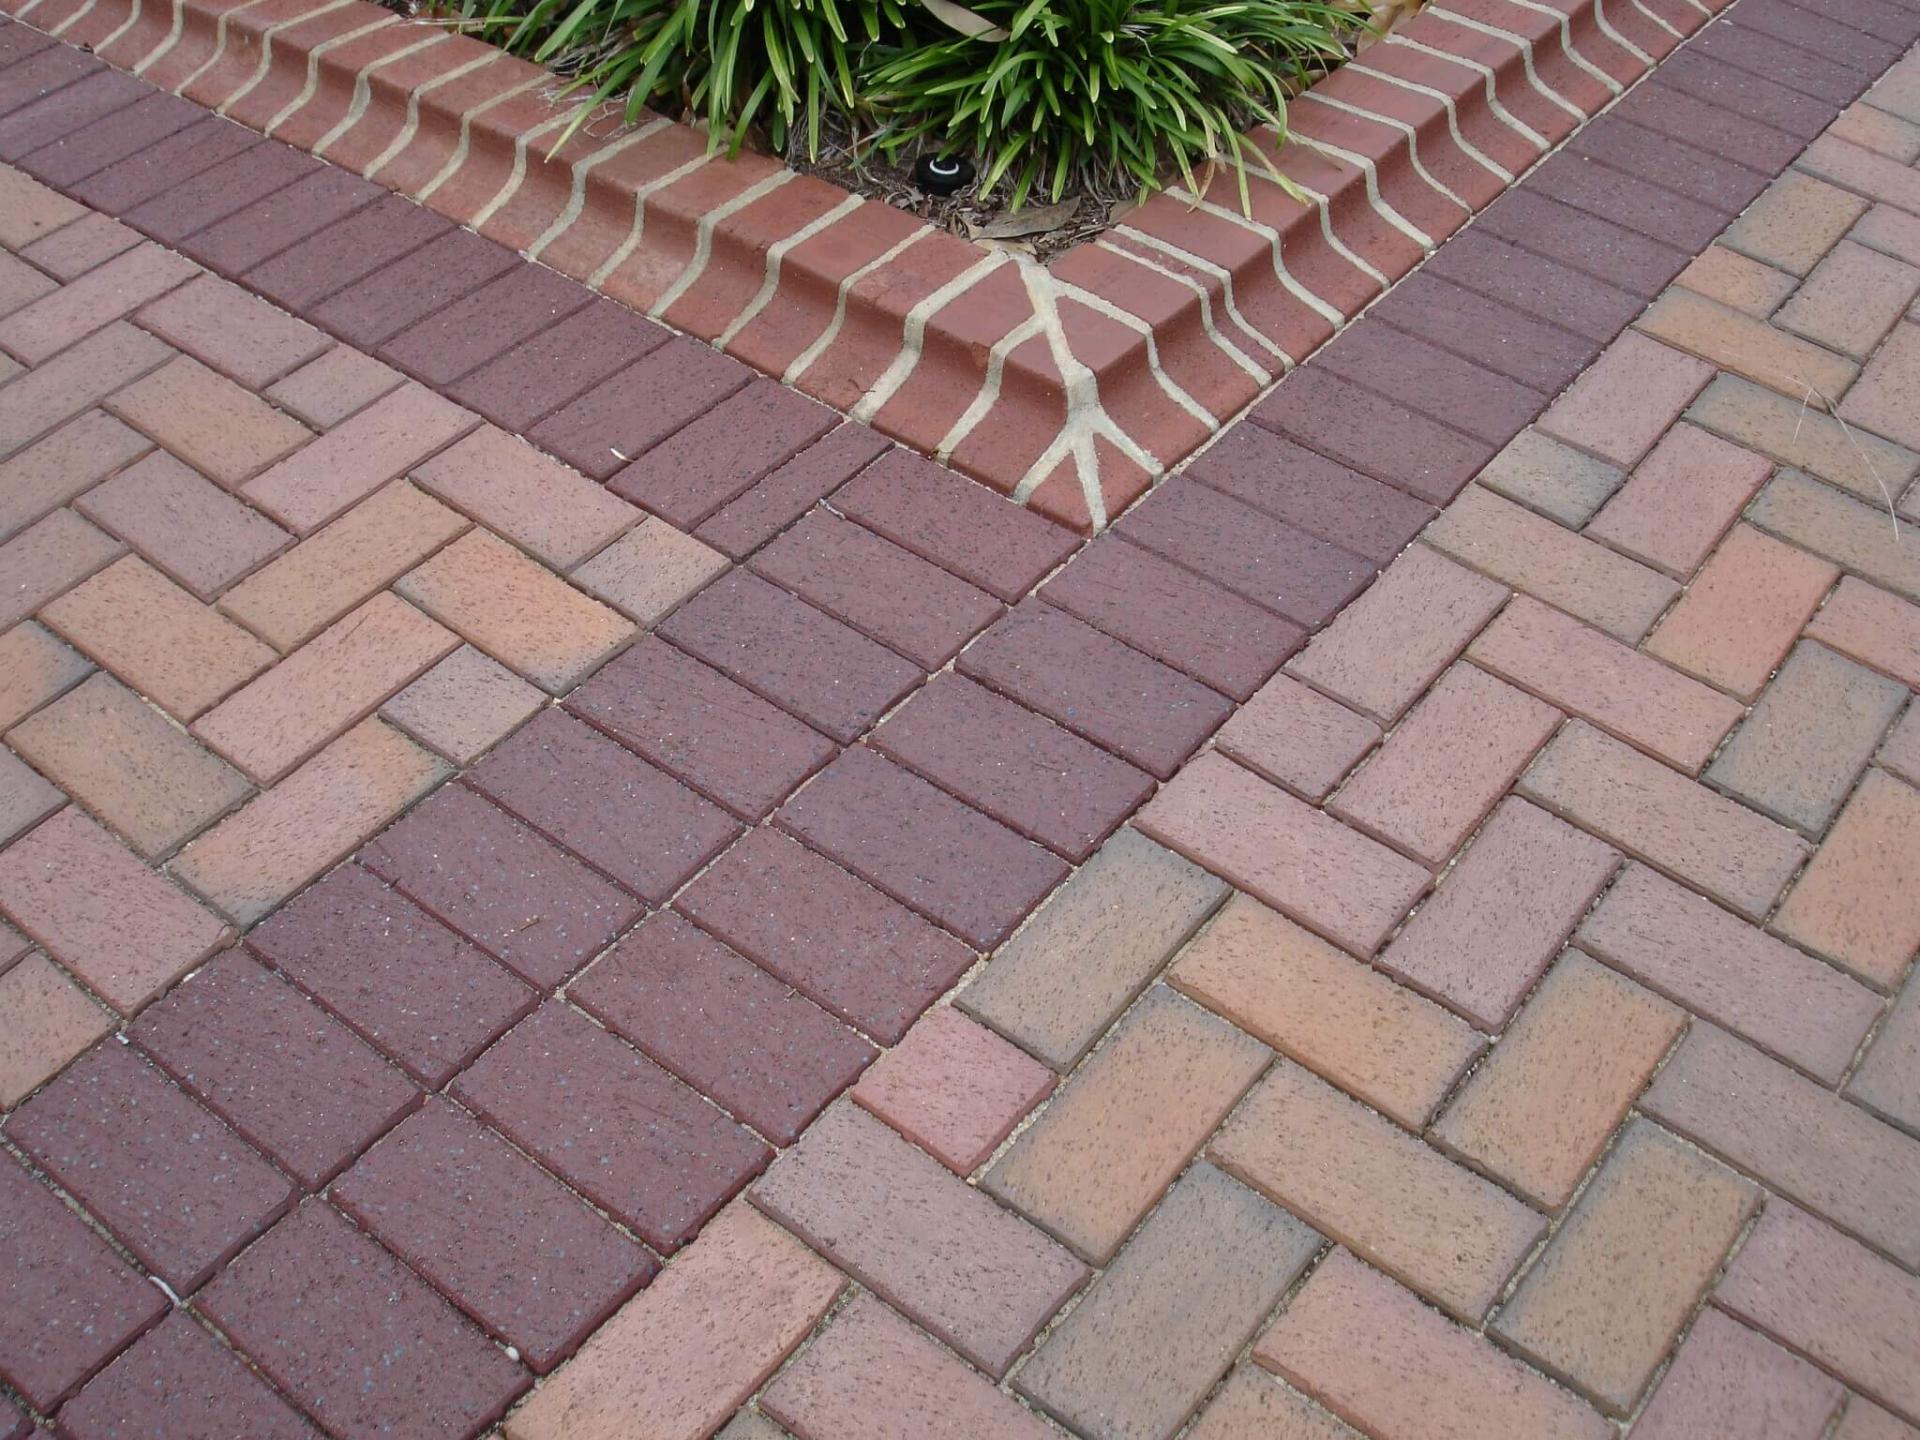
- Choose the paver pattern: Consider various patterns like herringbone, running bond, or basket weave, and pick the one that suits your design vision.
Step 2: Excavation and Base Preparation
- Excavate the area: Remove grass, rocks, and debris to a depth of about 6-8 inches. The depth may vary based on your soil conditions and the paver thickness.
- Level the ground: Use a rake and tamper to create a flat and even surface.
- Install landscape fabric: Lay landscape fabric over the excavated area to prevent weed growth.
Step 3: Adding the Base Layers
- Add gravel: Pour a 4-inch layer of gravel over the landscape fabric and spread it evenly. Use a tamper to compact the gravel firmly.
- Layer with coarse sand: Add a 1-inch layer of coarse sand over the compacted gravel. Level the sand with a board and check for evenness with a level.
Step 4: Installing the Pavers
- Start at the edge: Begin laying bricks from one corner or edge of the patio area.
- Follow the pattern: Lay the bricks according to your chosen pattern. Use the rubber mallet to tap the bricks gently into place.
- Maintain even spacing: Place 1/8-inch spacers between the bricks for uniformity in the joints.
- Check for level: Regularly use the level to ensure the surface is even and flat.
- Cut bricks as needed: If required, use a brick saw or chisel to cut bricks to fit the edges or corners. Make sure you use the proper safety gear for this step.
Step 5: Edging and Finishing
- Install edging: Secure the perimeter with edging material to keep the bricks in place and provide a finished look.
- Sweep in sand: Spread fine sand over the surface of the patio and sweep it into the joints between the bricks.
- Compact the bricks: Run a tamper over the bricks to ensure they settle evenly into the sand-filled joints.
- Repeat sand filling: Add more sand and repeat the tamping process until all gaps are filled and the patio is level.
Examples:
- Traditional Herringbone: A classic pattern that complements any outdoor space.
- Circle Kit Design: Create a beautiful focal point with a circular brick patio and radial patterns.
- Multi-Colored Basket Weave: Use bricks in different colors to form an eye-catching, interwoven design.


Building a DIY clay brick paver patio requires careful planning, patience, and attention to detail. With the right materials and these step-by-step instructions, you can create a stunning patio that enhances the beauty and functionality of your outdoor living area. Let your creativity shine by exploring various paver patterns and designs to make your patio a unique and inviting space for years to come. Happy building!
Find Your Store
IA | Des Moines
-
4601 NW Urbandale Drive, Suite 112
Urbandale, Iowa 50322
- Phone: 515-219-7842
- Hours: 07:30 am - 04:00 pm
IL | Bridgeview
-
7542 West 73rd Street
Bridgeview, Illinois 60455
- Phone: 708-607-9430
- Hours: 07:00 am - 03:00 pm
IL | Champaign
-
3200 W. Springfield
Champaign, Illinois 61822
- Phone: 217-439-4348
- Hours: 07:00 am - 03:30 pm
IL | Chicago
-
850 W. Pershing Road
Chicago, Illinois 60609
- Phone: 773-923-3771
- Hours: 07:00 am - 03:00 pm
IL | Des Plaines
-
821 Seegers Road
Des Plaines, Illinois 60016
- Phone: 847-860-6806
- Hours: 07:00 am - 03:00 pm
IL | Naperville
-
1760 North Aurora Road
Naperville, Illinois 60563
- Phone: 630-864-5711
- Hours: 07:00 am - 03:00 pm
IL | New Lenox
-
1300 West Maple Street
New Lenox, Illinois 60451
- Phone: 815-680-2971
- Hours: 07:00 am - 03:00 pm
IL | Schaumburg
-
409 West Wise Road
Schaumburg, Illinois 60193
- Phone: 847-860-6242
- Hours: 07:00 am - 03:00 pm
IL | Springfield
-
800 South 9th Street
Springfield, Illinois 62703
- Phone: 217-492-8544
- Hours: 07:30 am - 03:00 pm
IN | Carmel
-
430 West Carmel Drive
Carmel, Indiana 46032
- Phone: 317-597-8767
- Hours: 07:30 am - 04:00 pm
IN | Chesterton
-
1631 Pioneer Trail
Chesterton, Indiana 46304
- Phone: 219-250-9859
- Hours: 07:30 am - 04:00 pm
IN | Evansville
-
3401 Mt Vernon Ave
Evansville, Indiana 47712
- Phone: 812-993-4472
- Hours: 08:00 am - 04:00 pm
IN | Fort Wayne
-
3000 N Wells St
Fort Wayne, Indiana 46808
- Phone: 260-264-7468
- Hours: 07:30 am - 04:00 pm
IN | Indianapolis Edgewood North
-
5007 W 96th St
Indianapolis, Indiana 46268
- Phone: 317-751-2334
- Hours: 08:00 am - 04:30 pm
IN | Indianapolis Epler Ave
-
1580 E Epler Ave
Indianapolis, Indiana 46227
- Phone: 317-779-1670
- Hours: 07:30 am - 04:00 pm
IN | Indianapolis Shelby St
-
5518 Shelby Street
Indianapolis, Indiana 46227
- Phone: 317-779-3090
- Hours: 08:00 am - 04:30 pm
IN | Lafayette
-
1799 North 9th Street
Lafayette, Indiana 47904
- Phone: 765-476-0452
- Hours: 07:30 am - 04:00 pm
IN | South Bend
-
918 Oliver Plow Ct
South Bend, Indiana 46601
- Phone: 574-777-0167
- Hours: 07:30 am - 04:00 pm
MD | Baltimore
-
4150 Hayward Avenue
Baltimore, Maryland 21215
- Phone: (410) 220-2363
- Hours: 07:00 am - 04:00 pm
MD | Upper Marlboro (DC)
-
8315 Old Marlboro Pike
Upper Marlboro, Maryland 20772
- Phone: (301) 701-5160
- Hours: 07:30 am - 04:00 pm
MI | Waterford
-
6315 Highland Road
Waterford, Michigan 48327
- Phone: 248-392-3980
- Hours: 07:00 am - 03:30 pm
MI | Whitmore Lake
-
6556 Whitmore Lake Rd
Whitmore Lake, Michigan 48189
- Phone: 734-212-8454
- Hours: 08:00 am - 04:00 pm
MN | Bloomington
-
520 West 86th Street
Bloomington, Minnesota 55420
- Phone: 952-206-5490
- Hours: 07:30 am - 04:00 pm
NE | Omaha
-
13801 Industrial Road
Omaha, Nebraska 68137
- Phone: 402-235-5567
- Hours: 07:30 am - 04:00 pm
PA | Reading
-
200 Hartman Road
Muhlenberg, Pennsylvania 19605
- Phone: 610-686-7711
- Hours: 07:00 am - 03:30 pm
VA | Manassas
-
7413 Cushing Road, Suite 100
Manassas, Virginia 20109
- Phone: 703-263-8057
- Hours: 07:00 am - 03:30 pm


